Slab casting is one of the most critical stages in any RCC building project. A single mistake during slab casting can lead to cracks, deflection, leakage, or even long-term structural issues. Yet, many site problems happen not because of design failure—but due to improper execution on site.
If you’re a civil engineering student, site engineer, or contractor looking for a clear, practical, step-by-step slab casting procedure, this guide is written exactly for you.
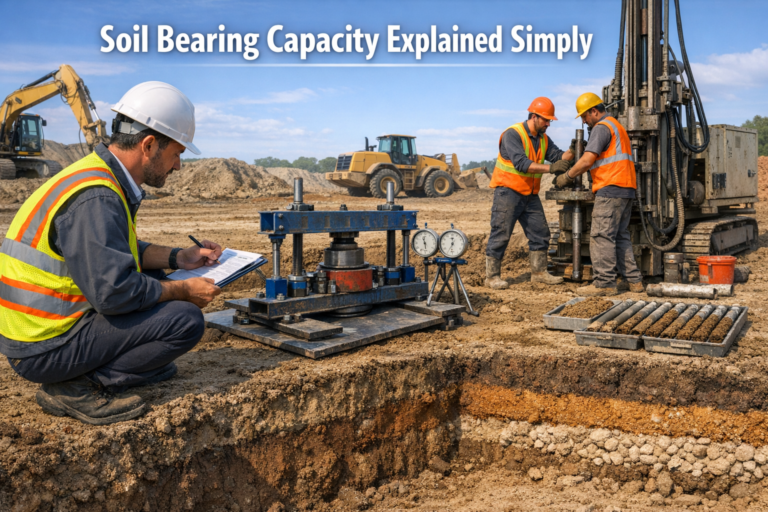
What Is Slab Casting in RCC Construction?
Slab casting is the process of pouring concrete over properly placed reinforcement and formwork to create a horizontal structural element (slab) that transfers load to beams, columns, and walls.
In simple terms, the slab acts as:
- The floor or roof of a building
- A load-distributing structural member
Because slabs cover a large area, quality control during casting is extremely important.
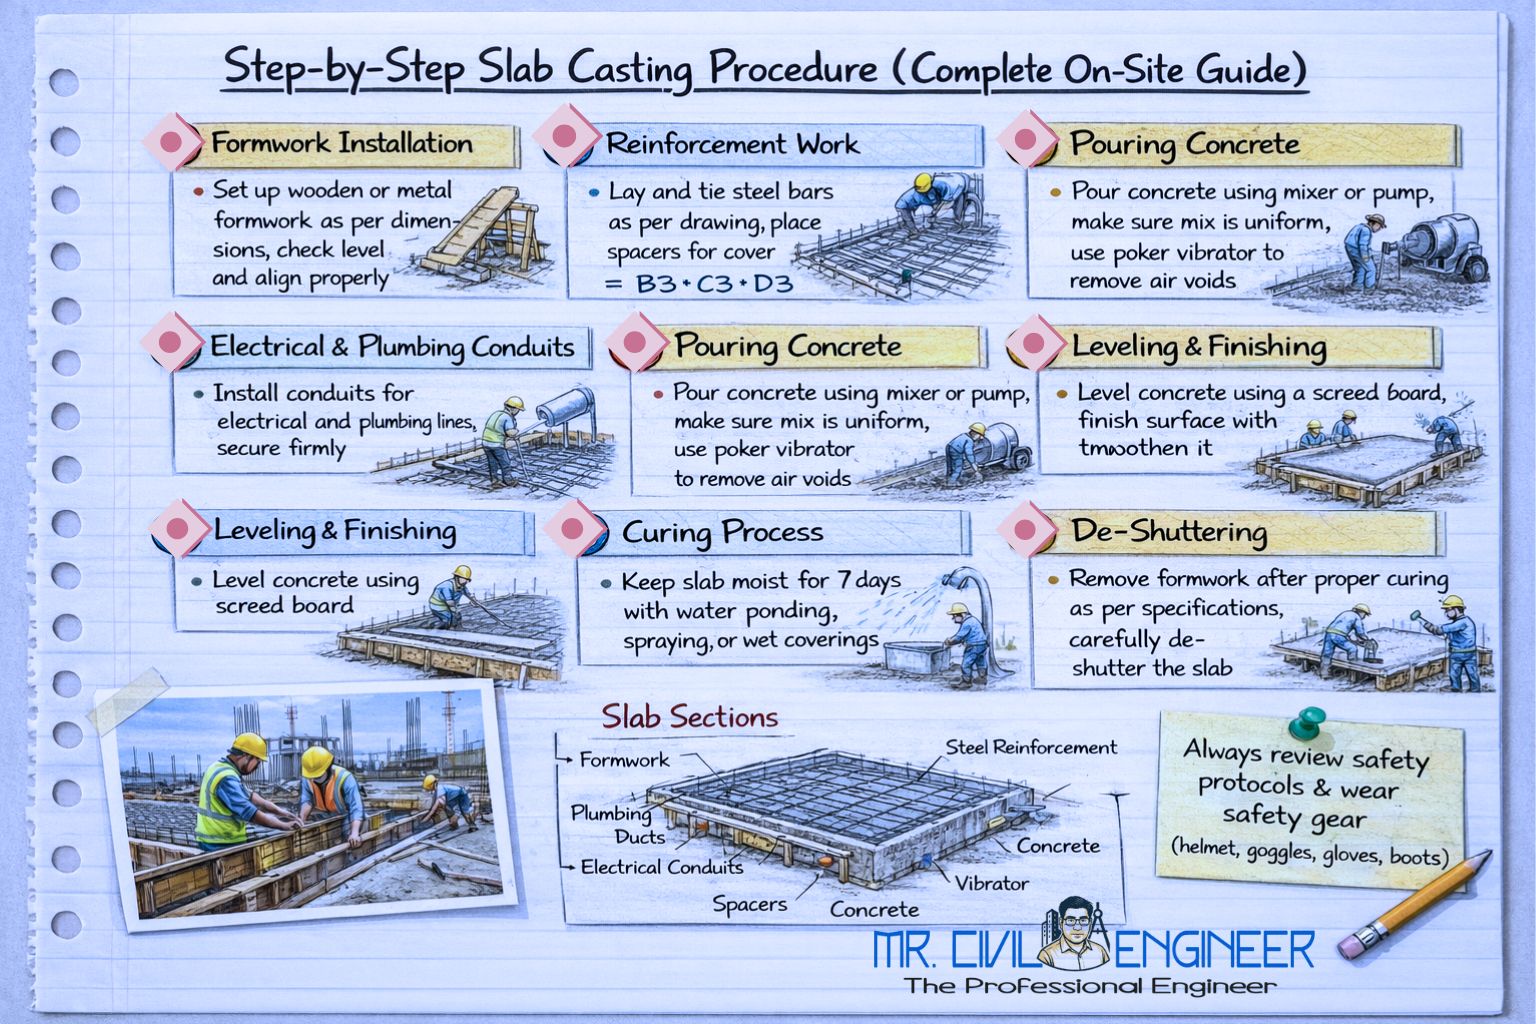
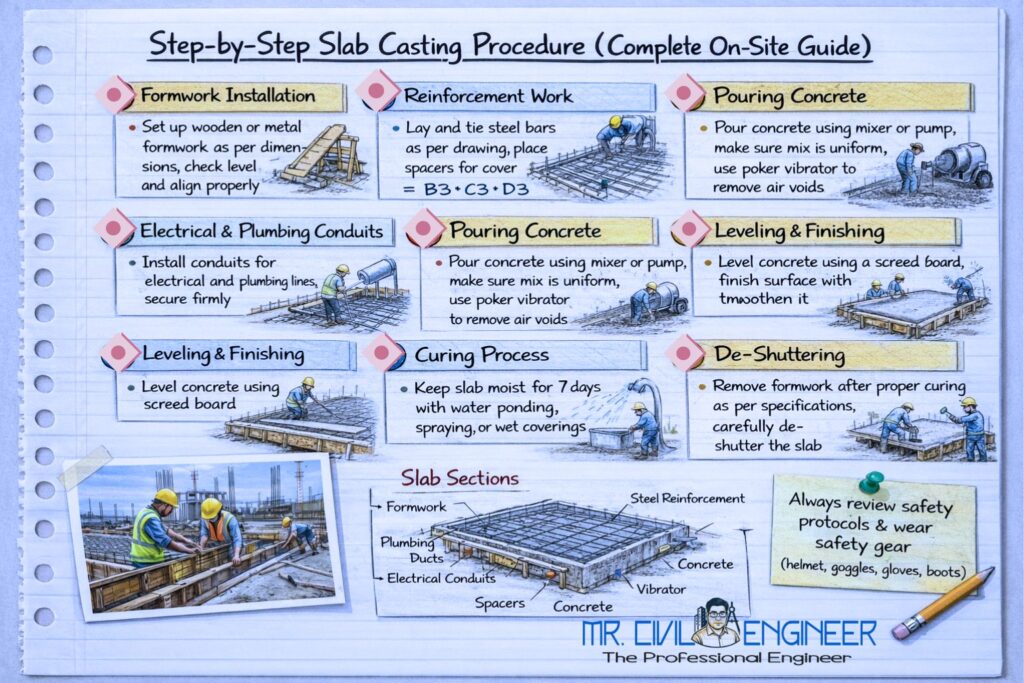
Step-by-Step Slab Casting Procedure on Site
Step 1: Formwork (Shuttering) Preparation
Formwork acts as a temporary mold that holds concrete until it gains strength.
Key Checks:
- Proper alignment and level
- Adequate support and props
- No gaps or leakage points
- Shuttering oil applied for easy removal
📌 Tip: Even a small level error can cause uneven slab thickness and increased dead load.
Step 2: Reinforcement Placement
Steel reinforcement provides tensile strength to the slab.
Ensure:
- Correct bar diameter and spacing as per drawing
- Proper cover blocks (usually 15–25 mm for slabs)
- Bars are tied firmly with binding wire
- No rust, oil, or mud on reinforcement
🚫 Common mistake: Missing extra bars near beams or openings.
Step 3: Electrical & Plumbing Conduits Check
Before concreting:
- Electrical conduits and fan box positions must be fixed
- Plumbing sleeves should be placed correctly
- All services must be approved by site engineer
🔧 Cutting slab after casting weakens the structure—avoid it completely.
Step 4: Slab Level Marking & Slope Planning
- Transfer slab level using level instrument or water level
- Mark reference points on shuttering
- Provide slope in toilets, balconies, and terraces
This step ensures proper drainage and uniform thickness.
Step 5: Concrete Mix Preparation
Concrete can be:
- Ready-Mix Concrete (RMC) – preferred for quality control
- Site-mixed concrete – ensure proper batching
Check:
- Concrete grade (M20, M25, etc.)
- Water-cement ratio
- Slump value for workability
📊 As per IS 456:2000, controlled water content is essential for strength.
Step 6: Concrete Pouring (Slab Casting)
Concrete should be poured:
- Continuously without long breaks
- Starting from one end and progressing uniformly
- Without dropping from excessive height (avoid segregation)
👷 Good coordination between mixer, vibrator, and leveling team is crucial.
Step 7: Compaction Using Vibrator
Compaction removes air voids and ensures dense concrete.
Guidelines:
- Use needle vibrator for slabs
- Insert vertically and withdraw slowly
- Avoid touching reinforcement excessively
⚠️ Over-vibration causes segregation; under-vibration causes honeycombing.
Step 8: Surface Finishing
- Level concrete using screed or straight edge
- Check slab thickness
- Smoothen surface with wooden or magnesium float
Final finish should be even, crack-free, and level.
Step 9: Initial Setting & Protection
After casting:
- Protect slab from rain, direct sunlight, and vibrations
- Restrict movement on slab
- Cover with wet gunny bags or plastic sheets
Step 10: Curing of Slab
Curing is non-negotiable.
Recommended:
- Start curing after 12–24 hours
- Continue for minimum 7 days (10–14 days preferred)
💧 Proper curing increases strength, durability, and crack resistance.
Quality Checklist Before Slab Casting
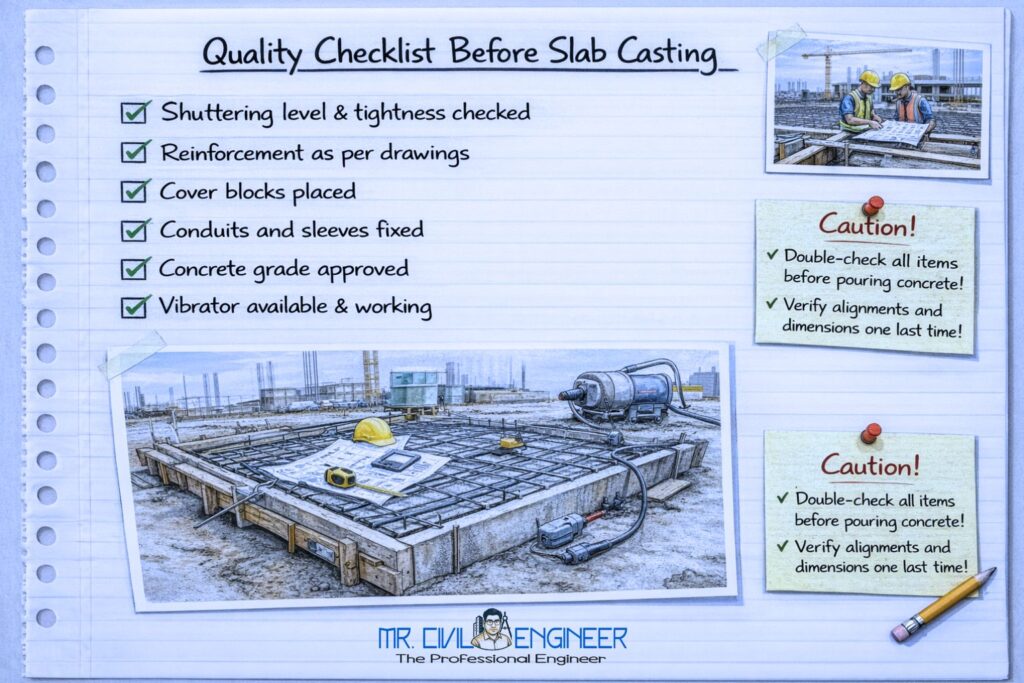
✔ Shuttering level & tightness checked
✔ Reinforcement as per drawings
✔ Cover blocks placed
✔ Conduits and sleeves fixed
✔ Concrete grade approved
✔ Vibrator available & working
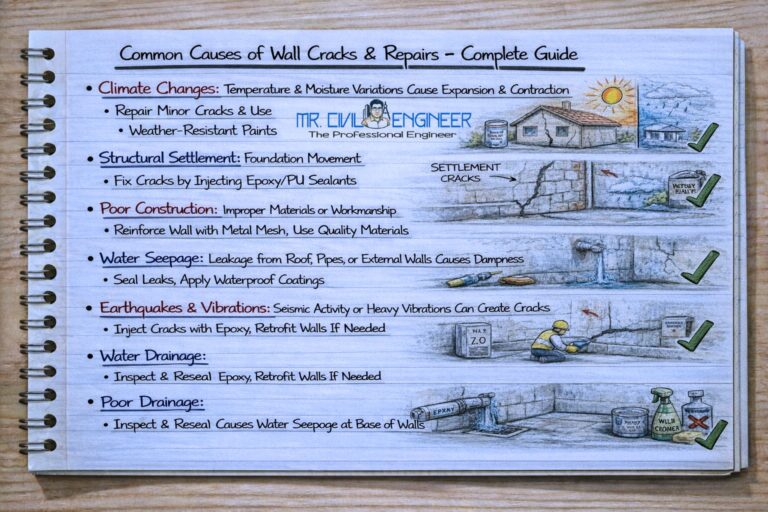
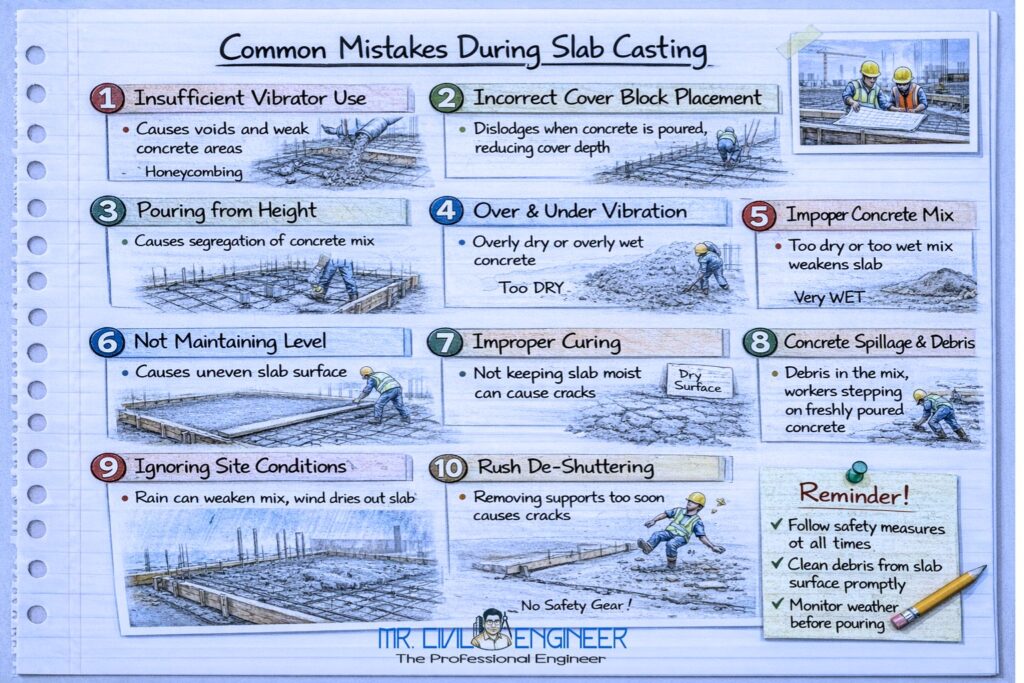
Common Mistakes During Slab Casting
- Inadequate compaction
- Improper reinforcement cover
- Excess water in concrete
- Poor curing practices
- Casting during heavy rain without protection
These mistakes often lead to leakage, cracks, and reduced slab life.
Frequently Asked Questions (FAQs)
Q1. When can slab shuttering be removed?
Generally after 7–14 days, depending on span and concrete grade.
Q2. Can slab casting be done in rain?
Yes, but only with proper protection and controlled conditions.
Q3. How long before starting next floor work?
Usually after slab gains sufficient strength (7–14 days).
Conclusion
Slab casting is not just about pouring concrete—it’s about planning, coordination, and quality control. Following a proper step-by-step slab casting procedure ensures structural safety, durability, and long-term performance of your building.
Whether you’re learning or executing on site, discipline during slab casting separates good construction from poor construction.
Latest Articles
- Common Estimation Mistakes on Site: Why Projects Go Over Budget
- Excel Sheet for Civil Engineering Estimation: A Complete Practical Guide
- BOQ Preparation Step-by-Step: A Practical Guide for Construction Projects
- Rate Analysis of RCC Work: Step-by-Step Guide with Example
- Plaster Quantity Calculation (Area-Wise): Step-by-Step Guide