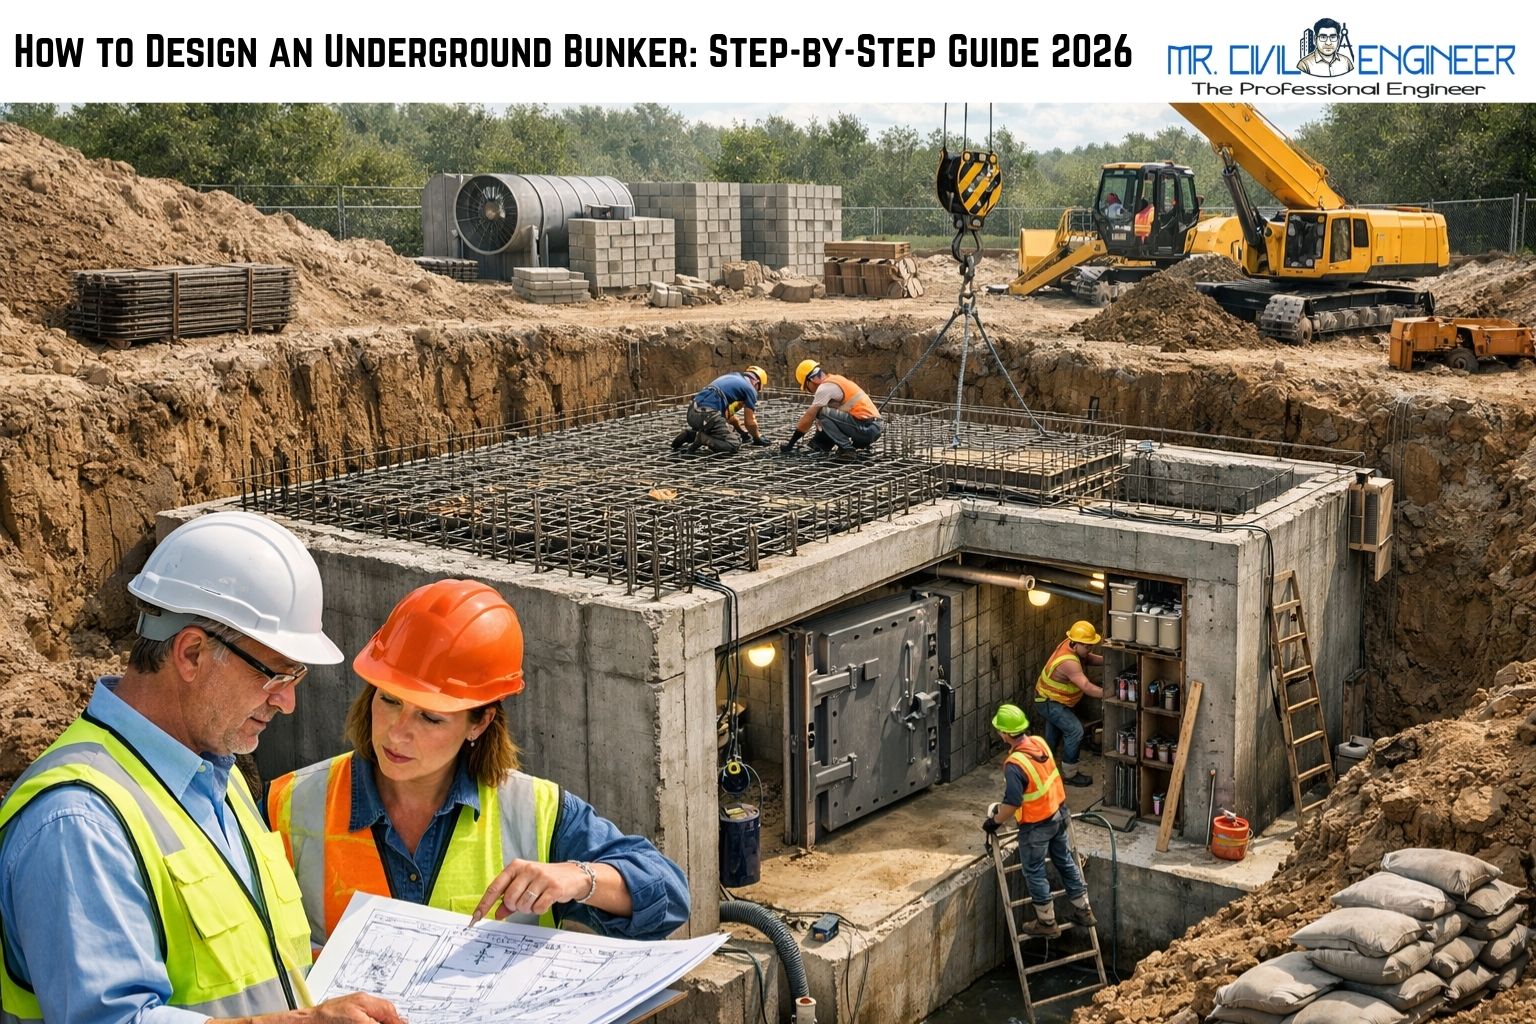
Imagine a tornado siren blaring as your family rushes for cover, or news of escalating global tensions keeping you awake at night. In 2026 alone, extreme weather events displaced over 25 million people worldwide. An underground bunker isn’t just for movies—it’s a practical shield for you and your loved ones. This step-by-step guide walks you through designing and building one yourself, from blueprint to blast door, saving thousands compared to pro installs.
Whether you’re a DIY enthusiast in tornado alley or prepping for uncertain times, we’ll cover everything with real examples, costs, and pitfalls. By the end, you’ll have a clear plan to create your secure underground bunker.
Why Build an Underground Bunker?
Underground bunkers excel at protection from blasts, radiation, floods, and storms—unlike flimsy above-ground shelters. A well-designed one can sustain a family for weeks, with NBC (nuclear, biological, chemical) filtration keeping air breathable.
Key benefits include longevity (50+ years with maintenance) and property value boost in high-risk areas. Expect $10K-$50K DIY vs. $100K+ prefab, per recent prepper forums. But first, check local zoning—many U.S. counties require permits for “storm shelters.”
| Threat Type | Bunker Protection Level | Example |
|---|---|---|
| Tornado (EF5) | High (buried structure) | Survives 300+ mph winds |
| Nuclear Fallout | Medium-High (with filters) | Blocks 99% gamma rays |
| Flood | High (elevated entrance) | Watertight seals |
| EMP | High (Faraday shielding) | Protects electronics |
Real-life example: During 2024’s Hurricane Helene, Florida families with bunkers emerged unscathed while neighbors faced devastation.

Step 1: Planning and Site Selection
Start with your needs: How many people? Stay duration (72 hours or 30 days)? A 4-person bunker needs ~100 sq ft minimum.
Test soil—gravelly, well-draining is ideal; avoid clay that swells. Dig a 4-ft test hole; if water pools, relocate. Pick a spot 50+ ft from trees/utilities, sloped for drainage, near your home but hidden.
- Pro Tip: Use free tools like Google Earth for overlays. Budget: $500 for soil tests/permits.
- Family of 4? Aim 8x10x8 ft high.
Analogy: Like picking a house foundation—get it wrong, and everything cracks.
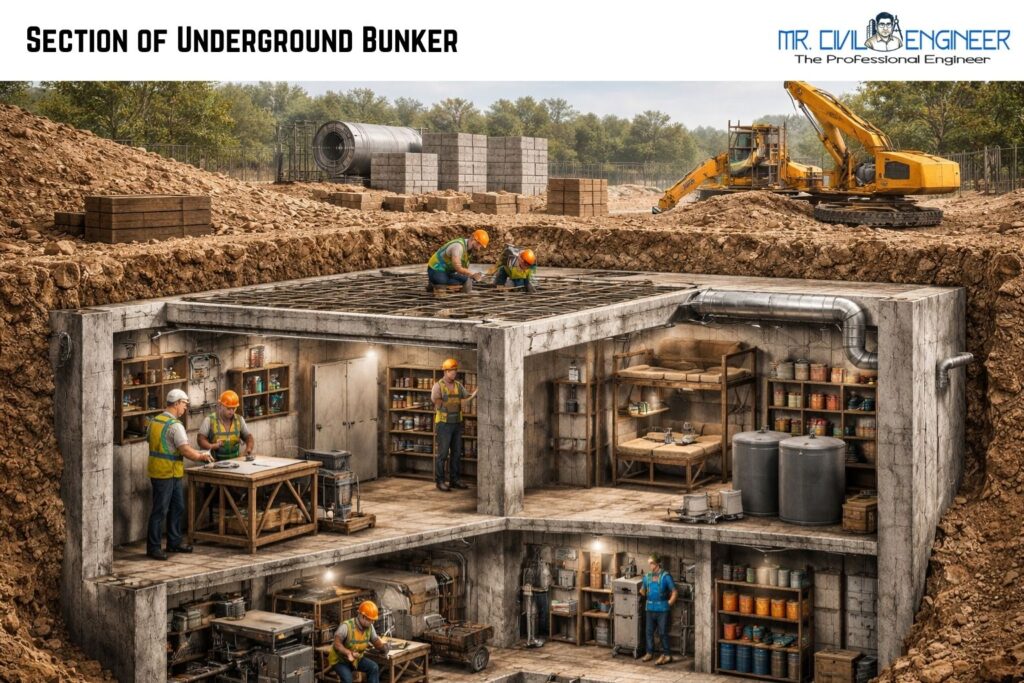
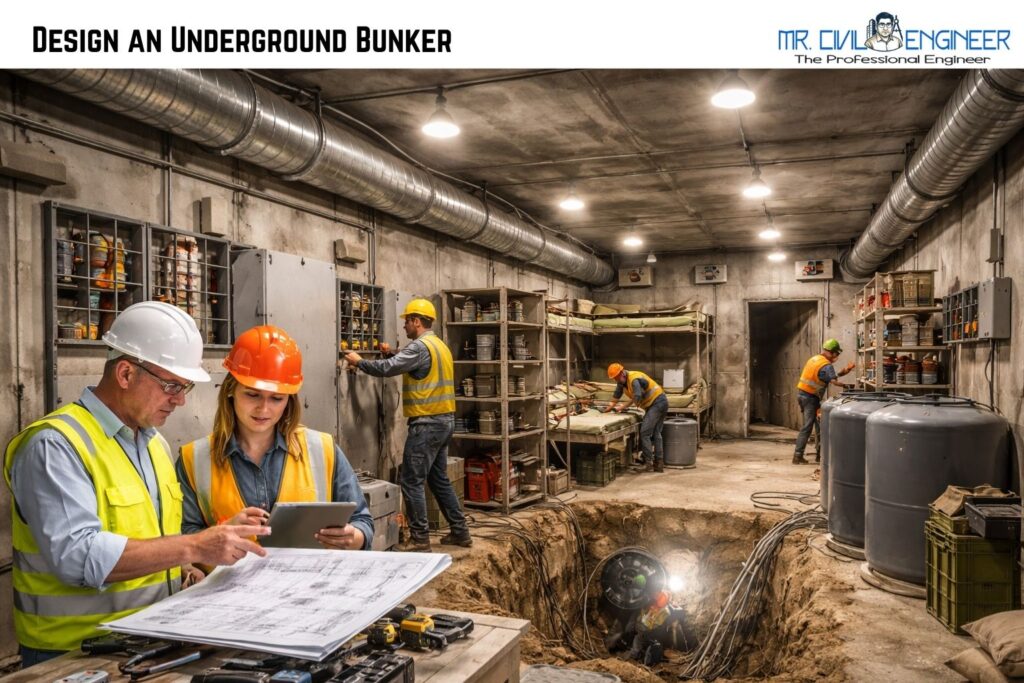
Step 2: Design Your Blueprint
Sketch a simple layout: Main room, storage, bathroom corner. Use free software like SketchUp. Standard: 8×8 ft entry-level ($15K build).
Core elements:
- Ceiling: 8-10 ft for headroom.
- Zones: Sleeping (bunks), kitchenette, waste (bucket toilet).
- Ventilation: 2 pipes (intake/exhaust) with filters.
This blueprint shows a compact 8×16 ft bunker with side entrance—scalable for beginners.
Include escape hatch and Faraday cage for radios. Download DIY plans online, but customize for loads (e.g., 500 PSF soil pressure).
Step 3: Gather Materials and Tools
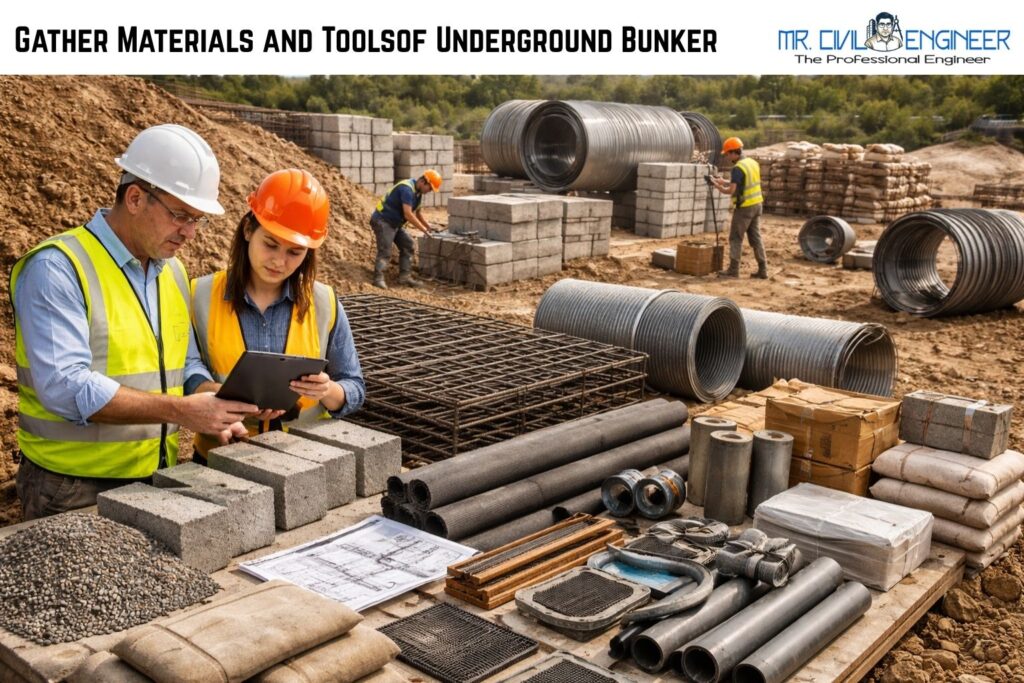
Stock up affordably—repurpose shipping containers for walls ($3K).
| Category | Essentials | Est. Cost (Basic Build) |
|---|---|---|
| Structure | Concrete (20 yds), rebar (1 ton), plywood forms | $8,000 |
| Systems | NBC filter kit, 12V batteries, LED lights | $2,500 |
| Tools | Shovel, jackhammer, concrete mixer (rent) | $1,000 (rentals) |
| Misc | Waterproof membrane, gravel backfill | $1,500 |
Total starter: ~$13K. Source from Home Depot or surplus military gear.
Step 4: Excavation
Rent a mini-excavator ($300/day)—manual digging takes weeks. Use “cut-and-cover”: Dig 10x12x10 ft hole, shore walls with trench boxes to prevent collapse (OSHA mandates).
Steps:
- Mark perimeter with stakes.
- Dig from outside in, sloping sides 1:1.
- Haul spoil 100 ft away for camouflage.
Safety first: Call 811 for utilities. Example: One DIYer in Texas hit a gas line—disaster avoided with checks.
Step 5: Build the Structure
Pour 1-ft thick concrete footings (4K PSI mix). Reinforce walls with #5 rebar grid (12″ spacing).
- Walls: 8-12″ thick, corbelled roof for span.
- Waterproof: Bituthene membrane + drain tiles.
- Roof: 1 ft concrete slab, backfill with gravel.
Like building a giant sandbox—strong frame first. Cure 7 days.
Step 6: Install Life Support Systems
Air is life: NBC filter ($800) with blast valves pulls clean O2. Hand-crank backup.
- Power: Solar panels + batteries (500W).
- Water: 55-gal barrels, graywater recycle.
- Plumbing: Composting toilet, simple sink.
Test airflow: 10 CFM/person minimum.
Step 7: Entrance and Security
45° stairwell with AR500 steel door (1/2″ thick, $2K). Camouflage as shed. Add locks, gas-tight seals.
Security layers: Motion sensors, reinforced hatch.
Step 8: Interior Finishing and Stocking
Insulate with foam boards (R-20). Install bunks, shelves. Stock: 3-gal water/person/day, MREs, med kit, radio.
Make cozy—paint walls, add hammocks. Like a tiny apartment underground.
Step 9: Testing and Maintenance
Flood test for leaks. Run air system 24 hours. Annual drills: Check batteries, seals.
Long-term: Inspect rebar every 5 years.
Common Mistakes to Avoid
- Skipping soil tests (leads to collapse).
- Cheap vents (CO2 buildup).
- No overpressure valve (explosion risk).
- Underestimating power needs.
FAQs
How much does a 4-person underground bunker cost?
$15K-$30K DIY, depending on features.
Can I use a shipping container?
Yes—reinforce and waterproof for $5K extra.
Is it legal to build one?
Check local codes; often classified as “storm shelter.”
How deep should it be?
8-12 ft for protection, per FEMA guidelines.
What about radiation?
3 ft earth + concrete blocks 90%+.
DIY time for beginners?
3-6 months part-time.
Best ventilation system?
NBC with HEPA/activated carbon.
Flood-proofing tips?
Elevate entrance, sump pump.
Ready to Build Your Bunker?
You’ve got the blueprint—now grab a shovel and turn worry into readiness. Start with site selection this weekend. Questions? Drop a comment below. Stay safe out there.
⚠️ Disclaimer:
This article is for educational and civil engineering purposes only. All construction must comply with local laws and safety regulations.