

A bathroom is the most water-exposed area of any house. Every day, liters of water fall on the floor and walls during bathing, washing, and cleaning. Over time, this water slowly finds its way into cracks, joints, and pipes.
At first, you may only notice small signs — a damp patch on the wall outside the bathroom or a faint musty smell. Later, paint starts peeling, tiles become loose, and water may drip to the lower floor. By then, the repair cost is much higher.
That is why bathroom waterproofing is not just a construction step — it is long-term protection for your home.
In this guide, you will learn:
- Why bathroom waterproofing is essential
- Best waterproofing systems
- A step-by-step method
- Cost and maintenance tips
Why Bathroom Waterproofing Is Important
Waterproofing protects your bathroom like a raincoat protects your body. It does not stop water use, but it stops water from entering the structure.
Key Benefits:
✔ Prevents leakage to other rooms
✔ Protects RCC slab and walls
✔ Avoids fungus and mold growth
✔ Increases life of tiles
✔ Reduces repair expenses
Real-life example:
In many apartments, leakage from one bathroom damages the ceiling of the flat below. One small crack in a bathroom floor can create disputes between neighbors. Proper waterproofing avoids such situations.
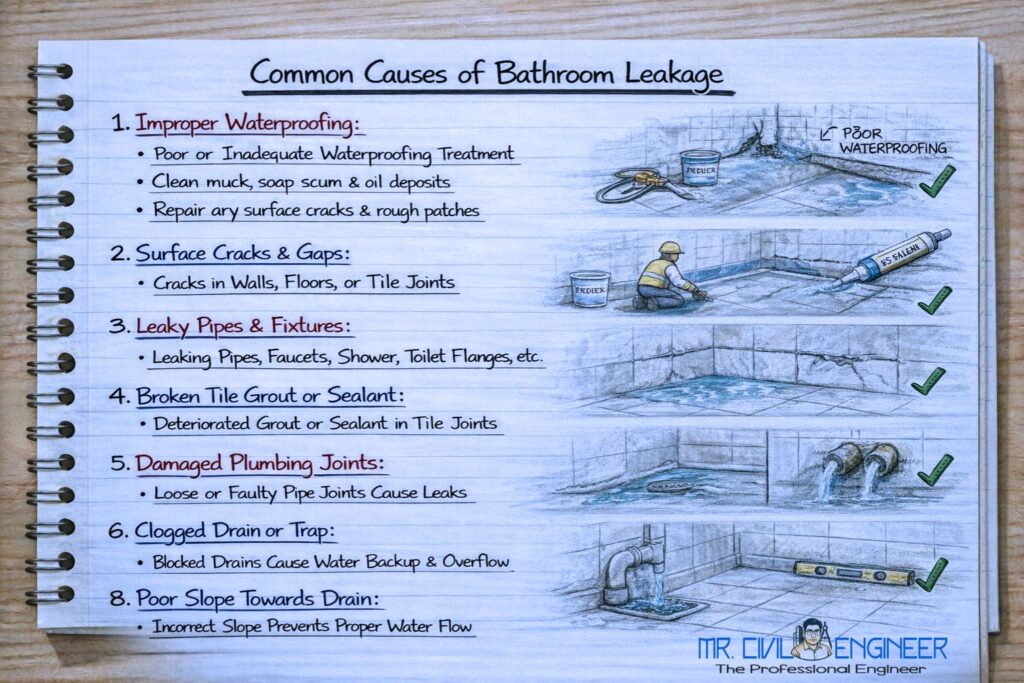
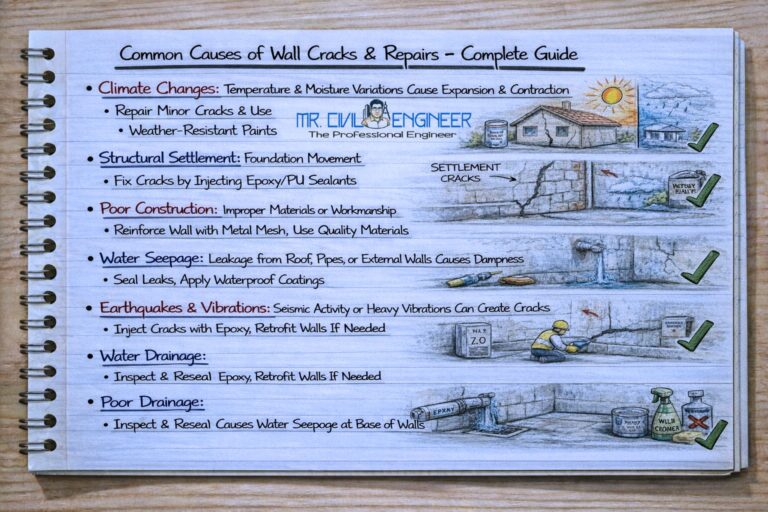
Common Causes of Bathroom Leakage
Bathroom leakage usually happens due to a combination of design issues and material failure.
Main Causes:
- Open tile joints
- Cracks in slab or walls
- Improper slope toward drain
- Leaking pipe joints
- No waterproofing layer under tiles
Warning Signs:
- Damp wall outside bathroom
- Black fungus in corners
- Tiles becoming hollow
- Bad smell
Ignoring these signs can lead to:
- Rusting of reinforcement
- Weakening of slab
- Expensive renovation
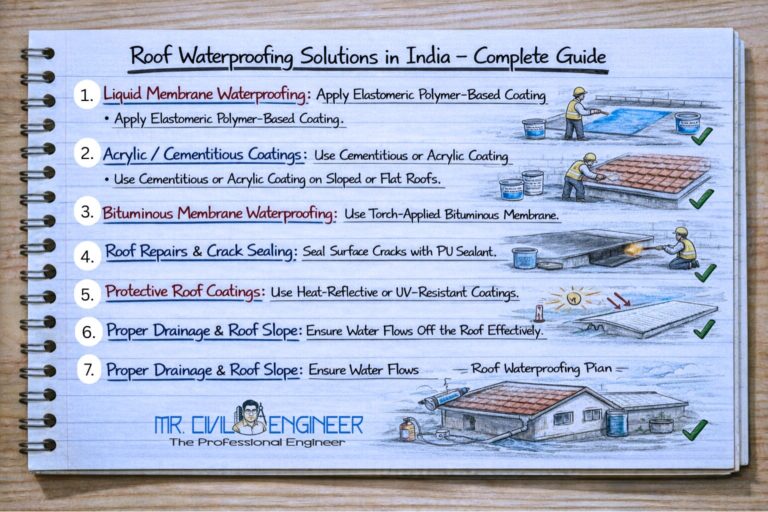
Types of Bathroom Waterproofing Systems
1. Cementitious Waterproofing
This is a cement-based coating mixed with waterproofing chemicals.
Advantages:
- Easy to apply
- Good for small bathrooms
- Low cost
Limitations:
- Not flexible
- May crack over time
2. Liquid Membrane Waterproofing
Applied like paint using brush or roller. Forms a seamless rubbery layer.
Advantages:
- Flexible
- Covers cracks
- Long-lasting
Best for: Modern bathrooms and renovations
3. Sheet Membrane Waterproofing
Pre-made sheets laid under tiles.
Advantages:
- Uniform thickness
- Strong waterproofing
Limitations:
- Costly
- Needs skilled labor
Bathroom Waterproofing – Step-by-Step Process
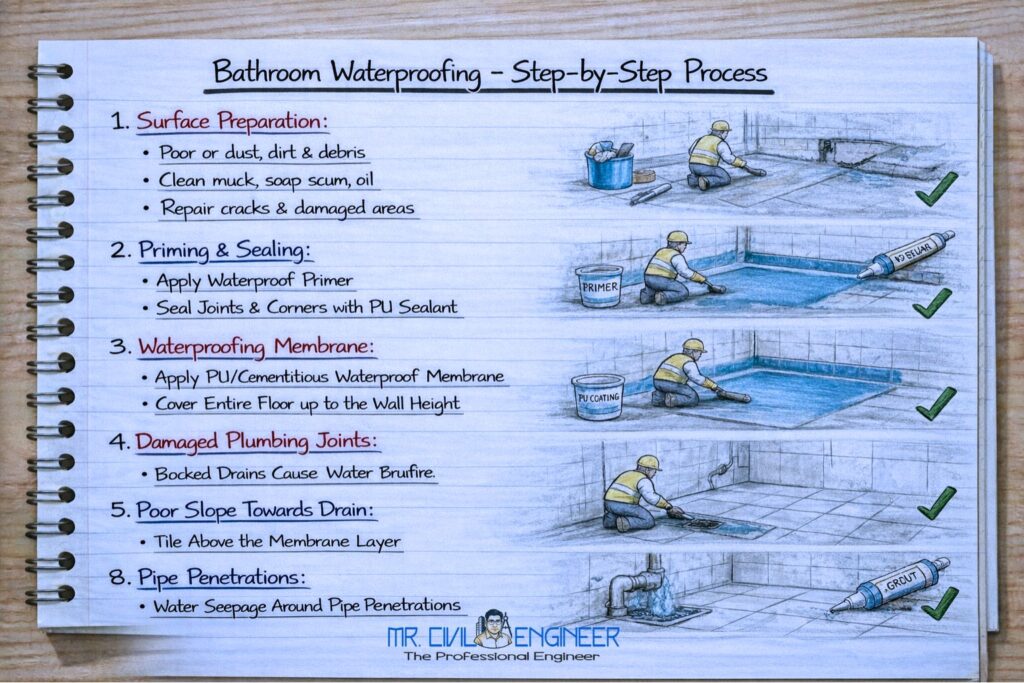
Step 1: Surface Preparation
Proper preparation is the foundation of good waterproofing.
✔ Remove old tiles (if renovating)
✔ Clean dust, grease, and loose plaster
✔ Repair damaged concrete
✔ Ensure slope toward drain
Tip: A dirty surface can cause waterproofing layer to peel off.
Step 2: Crack & Joint Treatment
- Fill cracks using polymer-modified mortar
- Seal pipe joints
- Treat corners between wall and floor
- Use mesh or tape at joints
This step prevents weak points in the system.
Step 3: Apply Waterproofing Coating
- Apply primer if required
- Apply first coat using brush/roller
- Allow it to dry
- Apply second coat in opposite direction
Coverage:
- Full bathroom floor
- 300 mm up on walls
- Full wall behind shower
Step 4: Curing & Water Test
- Allow coating to cure for 24–48 hours
- Conduct water ponding test
- Check leakage below
Only after testing should tiling begin.
Step 5: Protective Layer & Tiling
- Apply protective screed layer
- Fix tiles using tile adhesive
- Seal tile joints with waterproof grout
This protects the waterproofing layer from damage.
Bathroom Waterproofing Cost in India
| Type | Cost (₹/sq ft) |
|---|---|
| Cementitious | 30 – 60 |
| Liquid membrane | 60 – 120 |
| Sheet membrane | 120 – 200 |
Cost Depends On:
- Bathroom size
- Condition of slab
- Type of material
- Labor charges
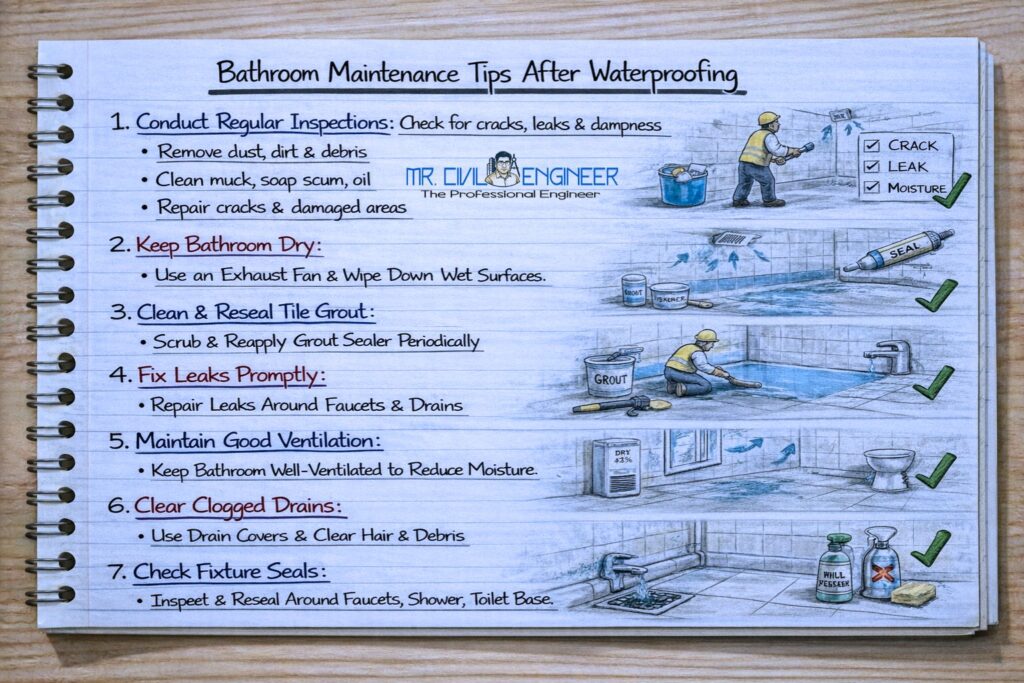
Maintenance Tips After Waterproofing
- Clean drains regularly
- Avoid drilling in bathroom floor
- Repair tile cracks immediately
- Re-grout joints every few years
Common Mistakes to Avoid
❌ Skipping surface cleaning
❌ Waterproofing only floor, not walls
❌ Ignoring pipe joints
❌ Tiling without water test
❌ Using cheapest product only
FAQs
Q1. Which waterproofing is best for bathrooms?
Liquid membrane waterproofing is most suitable for bathrooms.
Q2. How long does bathroom waterproofing last?
5–10 years depending on material and workmanship.
Q3. Can bathroom waterproofing be done without removing tiles?
Temporary solutions exist, but full waterproofing requires tile removal.
Q4. Is waterproofing required for walls?
Yes, especially shower walls and pipe areas.
Conclusion
Bathroom leakage is a silent problem that grows slowly and becomes expensive later. Proper bathroom waterproofing step by step protects your home, improves hygiene, and saves repair costs.
Waterproofing may seem invisible after tiles are fixed, but it is one of the most important layers in your bathroom. Investing in it today ensures peace of mind for years.

[…] Bathroom Waterproofing – Step-by-Step Complete Guide […]